
Small Walk-In Closet Ideas That Preserve the Aisle
Plan a small walk-in closet around aisle clearance, corners, hanging length, and access frequency before adding shelves, drawers, or extra rods.
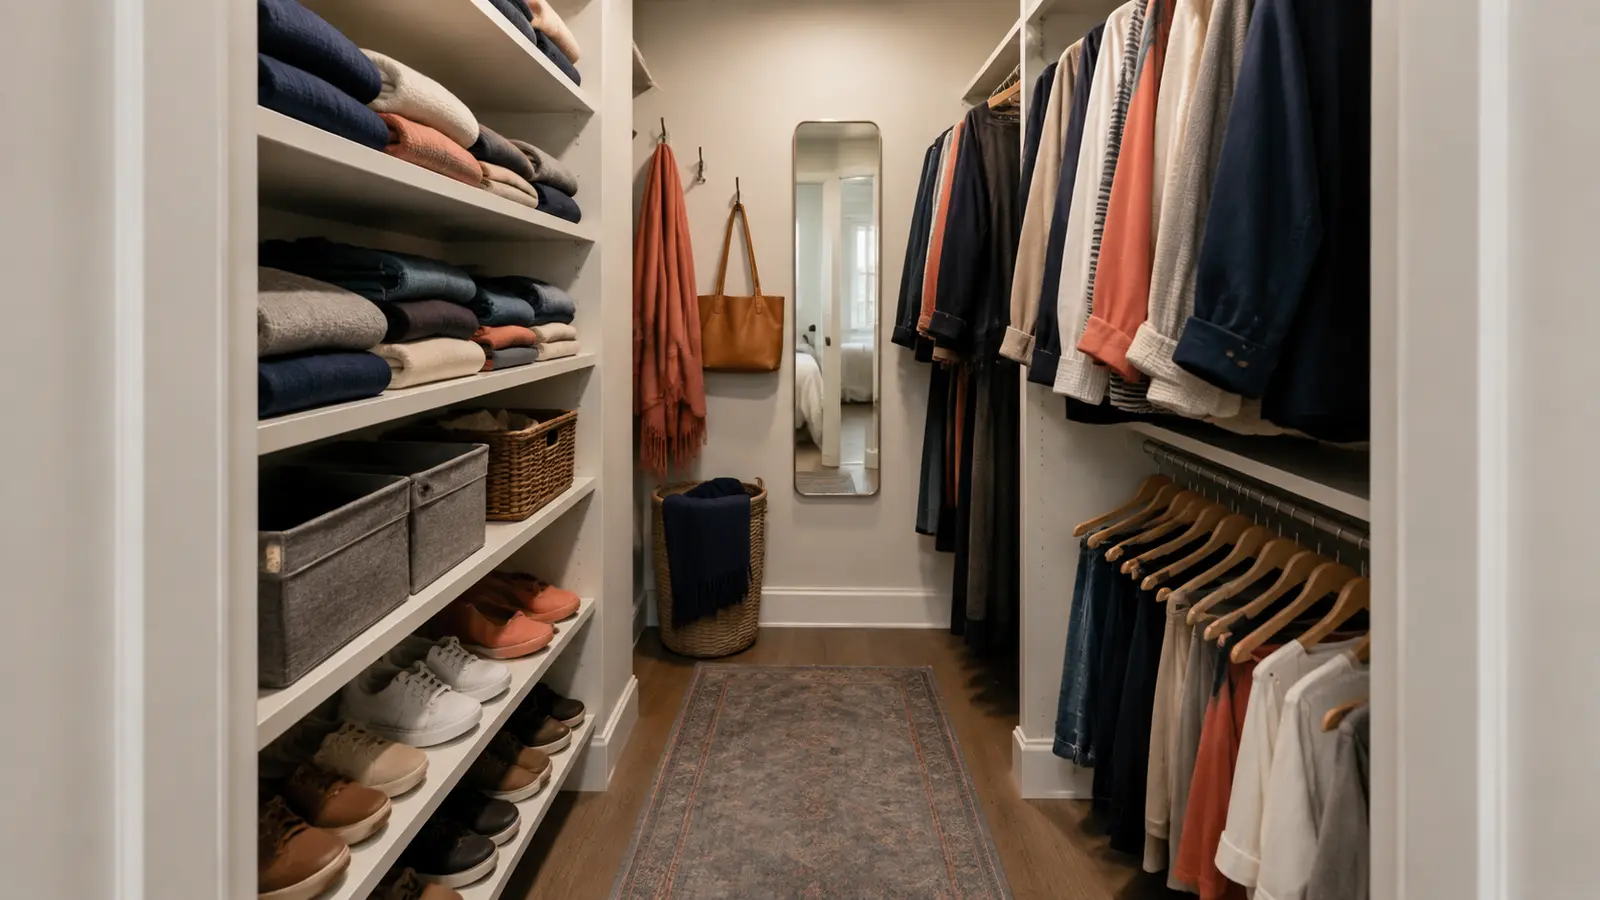
A small walk-in closet works when the aisle remains clear after hanging clothes, shelves, drawers, and door movement are accounted for. Start with the space that is left to move through, not the wall-to-wall room size. A simple planning check is:
usable aisle = room width − loaded storage depth on the left − loaded storage depth on the right
Measure “loaded depth” with the closet in use—clothes on hangers, bins on shelves, and drawer fronts or pulls included. Then choose the simplest layout that preserves a path you can actually use.
7 small walk-in closet ideas to test first
- Use one deep storage wall instead of two when the room is narrow.
- Choose an L-shaped layout when the back wall can add storage without creating a dead corner.
- Use a shallow U only when both sides remain easy to pass and reach.
- Double-hang only short garments and preserve one full-height bay for long pieces.
- Use adjustable shelves for folded items so openings follow what you actually store; the closet shelf spacing guide gives practical starting ranges.
- Give shoes one defined zone instead of spreading pairs across the aisle and floor; compare the small-closet shoe storage options before committing shelf or floor space.
- Leave one landing or turning zone intentionally empty rather than filling the final gap with another unit.
The useful idea is not the one that adds the most components. It is the one that keeps the daily path, doors, drawers, hanging clothes, and storage containers from competing for the same space.
Calculate the usable aisle before choosing a layout
Room dimensions are only a starting point. Two closets with the same width can behave differently if one has deeper hanging clothes, a door that swings inward, or drawers that extend into the path.
Published closet-planning guidance also uses different clearance assumptions. Inspired Closets describes 4 × 4 feet as an absolute minimum by combining about 24 inches of hanging depth with about 24 inches of clear path, while Seattle Cabinets suggests about 36 inches of open walking space and treats roughly 5 × 7 or 6 × 8 feet as more workable small-room examples. Those are planning references, not a single universal rule.
The more useful test is to measure what your storage actually consumes and calculate what remains.
Hypothetical aisle calculations
These examples use assumed loaded depths to show the method. They are not minimum dimensions or ergonomic standards.
| Hypothetical setup | Aisle calculation | Layout worth testing |
|---|---|---|
| 60 in room; 22 in loaded hanging wall | 60 − 22 = 38 in | One-wall |
| 66 in room; 22 in hanging + 12 in shelves | 66 − 22 − 12 = 32 in | One deep + one shallow wall |
| 72 in room; two 22 in loaded hanging walls | 72 − 22 − 22 = 28 in | Double-sided only after a movement test |
For the 72-inch example, the arithmetic says two loaded hanging walls leave 28 inches in the middle. That does not automatically make the plan comfortable. Test your shoulders, garment bulk, door swing, and the motion required to remove clothes. If either wall includes drawers, calculate the closed aisle first, then separately test the drawer fully open with room for your body.
This approach is especially useful for narrow or rectangular walk-ins because it shows why a one-wall or asymmetrical plan can outperform a visually balanced two-wall layout.
Map movement before storage
Draw a simple overhead outline. Include the door swing, light switch, vents, baseboards, and any access panel. Then mark the path from the doorway to the back wall.
Walk through three normal actions:
- Enter and reach daily clothes.
- Pull out a drawer or bin.
- Remove a long garment without hitting the opposite wall.
If a proposed cabinet or deep shelf interrupts one of those actions, it is too large even if it technically fits.
Choose a layout from the room’s constraints
Use the aisle calculation to decide which layout is worth testing, then use the movement check to reject plans that still create conflicts.
| What your measurements show | Layout to test first | Main failure to check |
|---|---|---|
| One deep storage wall leaves the clearest path | One-wall | Unused wall tempting you to add depth later |
| One deep wall plus shallow storage still preserves the path | Asymmetrical two-wall | Bins or hooks projecting farther than planned |
| The back wall adds storage without crowding the inside corner | L-shaped | Two systems colliding in the corner |
| Two loaded side walls still preserve your chosen aisle | Double-sided | Shoulder room and drawer-extension conflicts |
| Three storage walls preserve both aisle and reach | Shallow U-shaped | Deep corners and an overfilled back wall |
One-wall layout
Use one wall for most storage and keep the opposite wall shallow or empty. This is often the safest plan for a very narrow walk-in because it protects shoulder room and visibility.
L-shaped layout
Use the back wall and one side wall. The key is the inside corner: do not let two deep systems collide and create an unreachable pocket. A short hanging section, open corner shelves, or a deliberate gap may work better than forcing full depth into both walls.
Double-sided layout
Use opposing walls only when the loaded depth of both sides still leaves an aisle that works for your body and routine. Hanging clothes can project farther than an empty rod, and a shallow cabinet can become much deeper once a drawer is open.
A double-sided plan is usually more convincing on paper than in use when both sides include moving parts. If one wall needs drawers, consider making the opposite side hanging-only or shallower so the center path does not become the drawer-opening zone.
Shallow U-shaped layout
This can work when the closet is wide enough for storage on both sides and an unobstructed center. Measure the loaded depth of hanging clothes, drawer pulls, and bins—not just the frame depth.
Divide hanging space by garment length
Put short-hang items such as shirts and folded-over pants together. That may release the lower area for a second rod, shoes, or low drawers. Keep a separate full-height section for dresses, coats, or long garments.
Do not double every rod automatically. A second rod that makes lower clothes brush the floor or hides shoes is not added capacity; it is a conflict.
Give corners a single job
Small walk-in corners often fail because they are asked to hold hanging clothes from two directions. Choose one purpose:
- Open shelves for folded items
- Hooks for light accessories
- One direction of hanging clothes
- A vertical shoe or bag zone
- Clear turning space
Being able to reach the corner is more valuable than filling it completely.
Put drawers where they can open
Measure the unit with a drawer fully extended and include room for your body. A drawer facing hanging clothes may compress garments every time it opens. If clearance is tight, open shelves with pull-forward bins can be easier—but only for categories that tolerate being binned.
Tall freestanding drawer units can create tip-over risks. Follow the maker’s anchoring instructions and review current CPSC anchoring guidance, particularly where children may enter the closet.
Keep the back wall visually useful
The back wall is the first thing visible from the doorway. Give it one clear function such as a narrow shelf tower, short hanging zone, or mirror with safe clearance. Avoid using it as a pile-up area for bags and laundry.
Good lighting also helps a compact closet work because dark corners become forgotten storage. Choose fixtures intended for the location and keep bulbs and heat sources clear of clothing according to their installation instructions.
A practical layout sequence
- Inventory long-hang, short-hang, folded, shoe, and accessory categories.
- Draw the doorway, aisle, obstructions, and usable wall lengths.
- Place long-hang first because it is least flexible.
- Add short-hang zones.
- Use remaining shallow areas for shelves or hooks.
- Test drawer, bin, and door movement.
- Leave one landing area or open zone instead of filling the final gap.
For the broader measure-first process, start with our small closet organization guide. If your closet is shallow and reached from the bedroom rather than entered, use the reach-in closet layout guide instead.
Signs the layout is working
You should be able to enter, turn, see the current-season wardrobe, reach the most-used items, and open every moving part without first relocating something else. If the aisle becomes temporary storage, reduce the number or depth of containers before adding more.