
10 Shoe Storage Ideas for a Small Closet, Chosen by Space
Compare 10 practical shoe storage ideas for a small closet by pair count, shoe height, shelf depth, door clearance, visibility, and space cost.
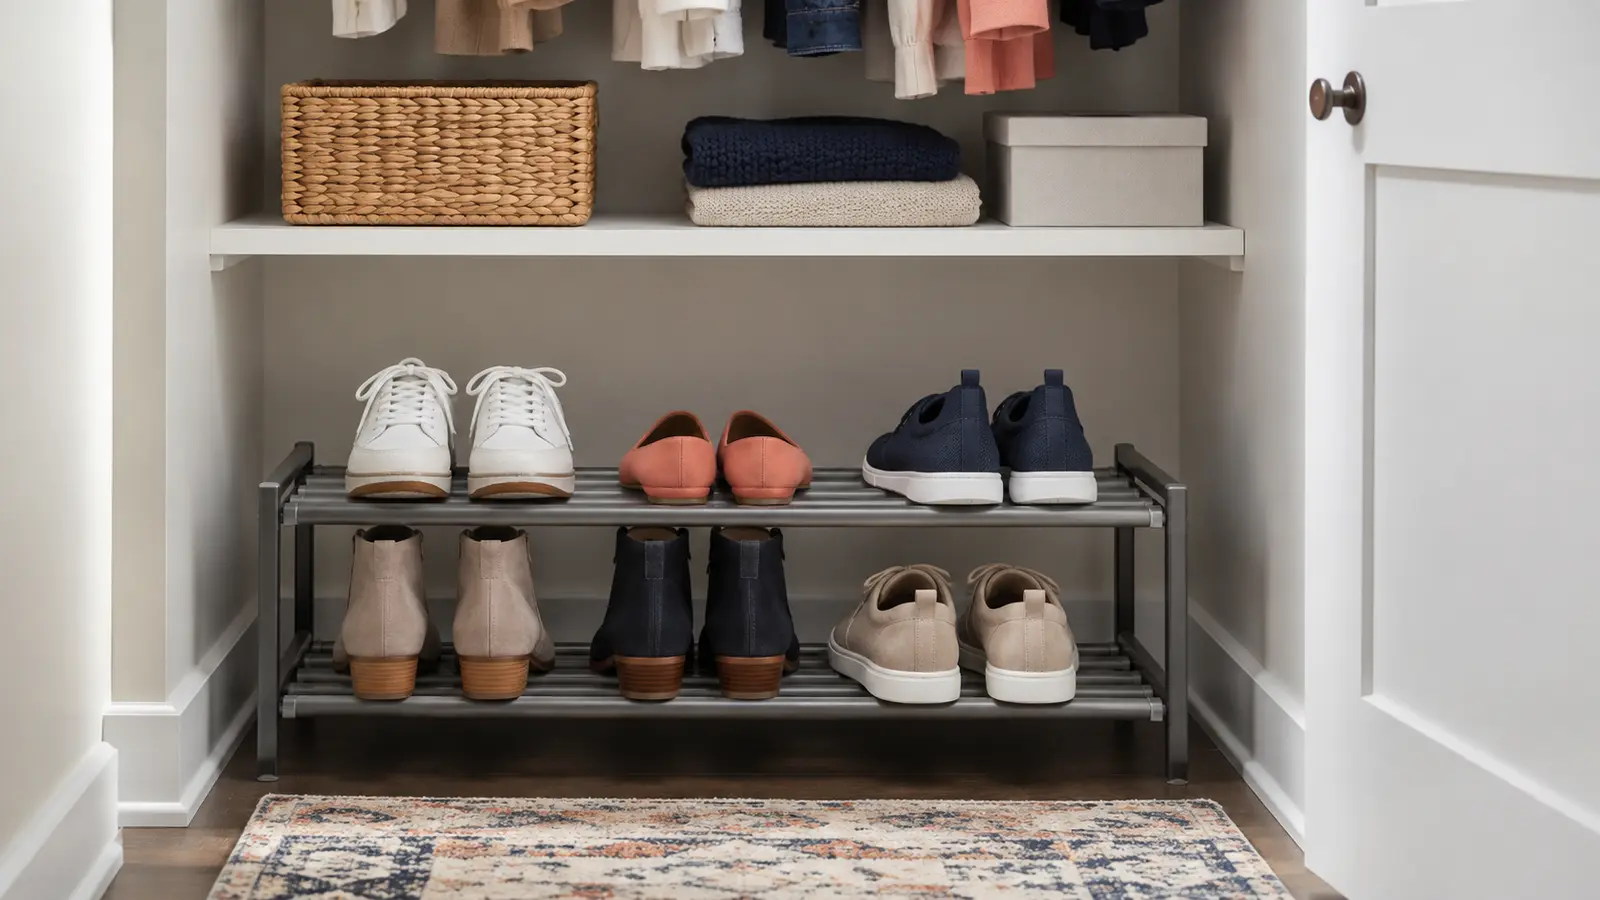
The most useful shoe storage ideas for a small closet are the ones that use a space you can spare: a low rack under short clothes, adjustable shelves, a shelf riser, the back of a compatible door, a hanging cubby, stackable boxes, a dedicated boot zone, or seasonal overflow outside the daily closet zone. Count pairs, measure the largest shoes, and choose the storage zone before choosing a product.
We have not tested specific products for this guide. This is a researched comparison of storage types and their practical tradeoffs; it contains no affiliate links.
10 practical shoe storage ideas for a small closet
1. Put a low two-tier rack under short-hang clothes
This is often the simplest use of otherwise empty floor space beneath shirts, jackets, or folded-over pants.
Best when: you want daily pairs visible and can keep the rack clear of the door track.
Watch for: long garments draping over shoes, dirt buildup, and a rack that is deeper than the hanging clothes above it.
2. Dedicate one adjustable shelf stack to shoes
Adjustable shelving works well when the collection mixes flats, sneakers, high-tops, and ankle boots because each opening can follow the footwear height instead of repeating one fixed gap.
Best when: shelf space is easier to spare than floor space.
Watch for: using openings that are too tall for flats or too short for boots. Use the closet shelf spacing guide to size the opening around the actual pair.
3. Add a riser to an existing deep shelf
A small riser can create a second visible level without hiding a full row behind another. It is useful when the shelf already has enough depth and headroom but wastes vertical space.
Best when: the shelf is stable and the upper pair remains easy to remove.
Watch for: creating an unstable tower or blocking the shelf above.
4. Use an angled shelf at the end of a walk-in
An angled shoe shelf can make toe profiles easier to see while using a narrow end wall that is awkward for clothing. It should not project into the aisle or interfere with turning space.
Best when: a walk-in has a shallow end zone that cannot serve hanging clothes well.
Watch for: assuming an angled design is automatically shallower; measure its loaded depth with the shoes in place.
5. Use the back of the door only after a clearance test
Over-the-door pockets or supports can move shoes off the floor, but they add thickness and weight to a moving surface.
Best when: the door has enough top gap, side clearance, and swing space.
Watch for: rubbing trim, hitting a wall, preventing the latch from closing, or distorting bulky shoes. Our closet door storage guide explains the loaded-clearance test.
6. Trade a little rod width for a hanging cubby
A fabric hanging organizer can create vertical shoe slots without touching the floor.
Best when: the closet has spare rod width and the shoes are light.
Watch for: sagging, narrow cubbies, and displacing more hanging clothes than the shoes are worth.
7. Stack clear boxes for occasion shoes
Individual boxes protect occasional footwear and keep pairs identifiable. They make more sense for shoes that do not need one-step daily access.
Best when: you have a stable shelf or floor zone and want dust protection.
Watch for: opening several boxes to reach the bottom pair or trusting advertised capacity instead of external dimensions.
8. Give boots one taller zone instead of forcing every shelf to fit them
Tall boots and bulky high-tops can waste space when every shelf opening is sized for the tallest pair. Group the tall footwear in one dedicated bay and tighten the other shelves around lower shoes.
Best when: only a minority of the collection needs extra height.
Watch for: folding or crushing shafts just to fit a shorter opening.
9. Rotate true seasonal shoes out of the daily zone
If winter boots or occasion footwear are used only part of the year, protected under-bed or upper-shelf storage can free the best closet positions for weekly pairs.
Best when: the alternate storage is dry, identifiable, and realistically retrievable.
Watch for: turning seasonal storage into forgotten overflow.
10. Split the collection by access frequency instead of forcing one organizer to hold everything
Keep weekly shoes in the easiest floor or shelf zone, occasional pairs in boxes or a higher shelf, and seasonal pairs in protected backup storage. This often works better than one large rack claiming to hold the entire collection.
Best when: pair count exceeds the convenient capacity of one closet zone.
Watch for: duplicating categories across several places so you no longer know where a pair belongs.
Audit the collection before buying anything
Create four groups:
- Worn at least weekly
- Occasion or work-specific
- Seasonal
- Repair, donate, or discard
Count pairs in each group. Measure the longest pair, the widest pair side by side, and the tallest footwear that must stay upright. Boots, high-tops, heels, flats, and bulky athletic shoes do not use identical shelf space.
Use a capacity test that reflects reality
Before purchasing, mark the unit’s outer width and depth with tape. Place the largest pairs in that footprint. Check:
- Can shoes sit without crushing uppers or heels?
- Can you see or identify every pair?
- Can the door close and the track remain clear?
- Can you remove a bottom pair without dismantling the stack?
- Does the system leave room for wet footwear to dry elsewhere before storage?
Worked example: how many pairs fit on a shelf?
Suppose a shelf has 30 inches of usable width after subtracting posts and brackets. Suppose each of your three pairs measures 9 inches across, with both shoes in their intended position. Allow an illustrative 1-inch gap between pairs:
3 × 9 + 2 × 1 = 29 inches, so three pairs fit across that hypothetical shelf with 1 inch left over. Four pairs would need 39 inches with the same gaps and would not fit.
Those dimensions are assumptions, not standard shoe sizes or recommended universal gaps. Replace them with your own measurements. Wider shoes, side rails, and angled supports can reduce the usable count.
Two usable levels could hold six such pairs only if both levels also fit the shoes’ depth and height, permit removal, and comply with the unit’s load instructions. Check long garments and door movement with shoes in place. Do not count a hidden second row as convenient daily capacity simply because it fits geometrically.
Common failures to avoid
- Buying for an advertised pair count without checking shoe sizes
- Storing damp or dirty footwear against clothing
- Creating two hidden rows of daily shoes
- Using unstable tall stacks
- Filling the entire floor and losing cleaning access
- Giving rare shoes the most convenient position
For a full layout, return to the small closet organization plan. Renters should also compare the no-drill closet options.
A simple final choice
Choose floor or shelf storage when visibility and one-step access matter most. Choose door or hanging storage only when the lost clearance or rod width is a fair trade. Use closed containers for protection and occasional access—not to hide an unedited collection.