
Small Closet Organization Ideas That Start With Measurements
Organize a small closet with a five-measure plan, access zones, and only the storage your wardrobe actually needs—without wasting space on generic hacks.
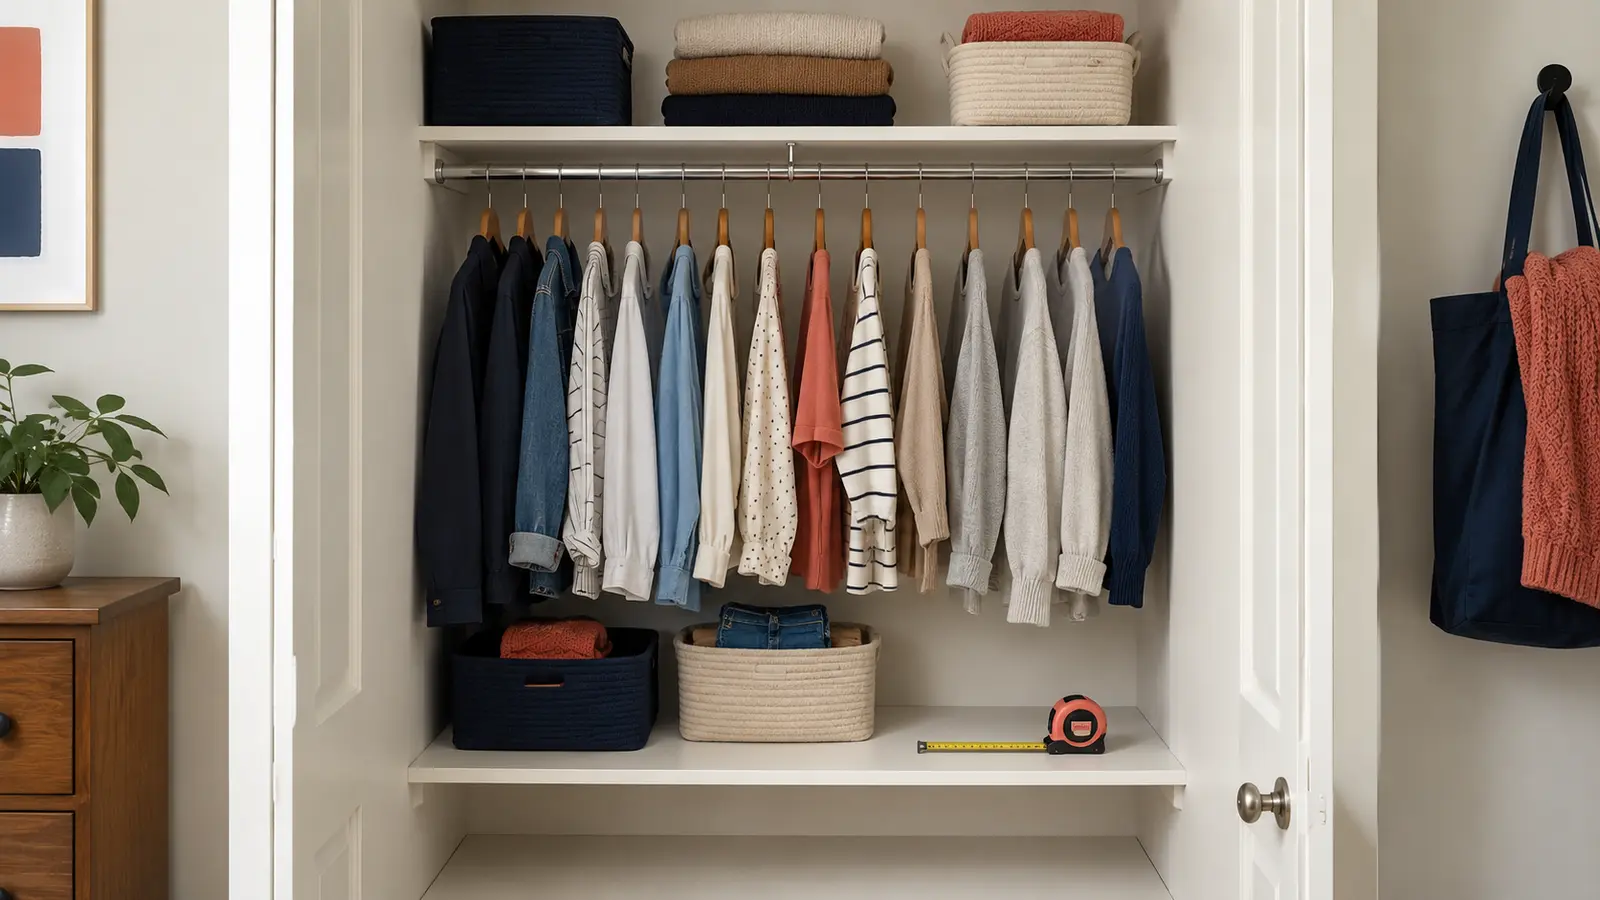
The most useful small closet organization ideas do not begin with buying bins. They begin with measuring the space, editing what must fit, and assigning the easiest-to-reach areas to the things you use most.
This order matters. A container can make a shelf look tidy while quietly wasting depth, blocking a door, or adding one more step every time you get dressed.
Start with five measurements
Empty enough of the closet to see its boundaries. Record:
- Usable width: measure between trim, brackets, hinges, or wall returns—not only wall to wall.
- Usable depth: measure from the back wall to the point where stored items can sit without touching the door.
- Vertical clearance: record the open space above the shelf, below hanging clothes, and between existing shelves.
- Opening and door movement: note how much of the closet is reachable when hinged, bifold, or sliding doors are open.
- Obstructions: mark baseboards, outlets, vents, access panels, sloped ceilings, and hardware.
Measure the longest hanging garments separately. The empty space beneath shirts may accept a second rod or drawers; the same space beneath coats or dresses may not.
Audit the wardrobe by storage behavior
Sort by how each item should be stored, not only by clothing category:
- Must hang full length
- Can hang short
- Folds without damage
- Needs a drawer or closed bin
- Needs air circulation or shape support
- Belongs to another season
- Does not earn space in this closet
This produces a more useful plan than buying an all-in-one kit first. If most of your wardrobe folds, a wall of double hanging rods is the wrong answer. If you wear dresses daily, filling the entire lower zone with drawers creates a new problem.
Build three access zones
Daily zone
Keep current-season clothes and everyday accessories between comfortable hand and eye level. A good daily zone lets you see choices without moving a bin or unfolding another item.
Occasional zone
Use the upper shelf, back corners, or less convenient side sections for event wear, spare linens, and items used a few times a month. Pull-forward bins are useful only when they fit the shelf and remain light enough to handle safely.
Seasonal zone
Store clean, dry off-season clothing in protected containers. If another dry storage area is available, moving seasonal bulk out of the closet may create more value than adding another organizer.
Use what you own before adding storage
Test the layout with existing boxes, baskets, or empty shelf space for one week. The trial reveals which categories collapse, disappear, or migrate to a chair.
Then add the smallest intervention that fixes the repeated failure:
| Repeated problem | First solution to test |
|---|---|
| Folded stacks fall sideways | Shelf divider or smaller stack |
| Short clothes waste lower space | Second rod or low drawers, after measuring |
| Accessories disappear | One shallow, visible tray or bin |
| Shoes become a floor pile | A measured shoe zone, not a random rack |
| Door area is unused | Check clearance, then consider slim door storage |
| Seasonal items crowd daily clothes | Move or contain the seasonal category |
Our guides to closet shelf organization and shoe storage in a small closet show how to plan those two zones in detail.
Choose the installation level deliberately
No-drill and renter-friendly
Freestanding shelves, hanging cubbies, removable dividers, and some door-mounted organizers can be reversed. They also consume floor, rod, or door clearance and may hold less than installed systems. See the full renter-friendly closet plan.
Light installation
Hooks, short rails, or an added shelf can solve a specific gap without replacing the whole closet. Use fasteners appropriate for the wall and follow the hardware maker’s instructions.
Permanent system
Built-in or track-mounted systems can use awkward dimensions better, but mistakes are harder to reverse. Finalize the clothing inventory and test a paper layout before drilling.
Avoid five common failures
- Blocking the opening: a bin fits inside but cannot pass the sliding door.
- Buying by capacity claims: external dimensions and access matter more than marketing labels.
- Overloading fabric shelves: soft organizers are best for light items and can sag under dense stacks.
- Hiding daily items in deep bins: containment is not useful if every choice requires unpacking.
- Adding too many steps: lids, nested boxes, and elaborate folding systems fail when daily use is rushed.
Freestanding drawer units and tall furniture deserve extra care in homes with children. Follow the product’s anchoring instructions and current U.S. Consumer Product Safety Commission furniture-safety guidance.
The seven-day test
Use the closet normally for a week before calling the project finished. At the end, check:
- Did anything return to the floor or a chair?
- Can every daily item be reached in one action?
- Can doors, drawers, and access panels open fully?
- Are heavy items low and stable?
- Is there a small amount of open capacity for laundry day?
The best system is not the one that stores the theoretical maximum. It is the one you can reset quickly without thinking.