
Laundry Room Organization: A Measurement-First System
Organize a laundry room by measuring appliance clearance, mapping laundry flow, and choosing storage that keeps doors, service access, and work zones clear.
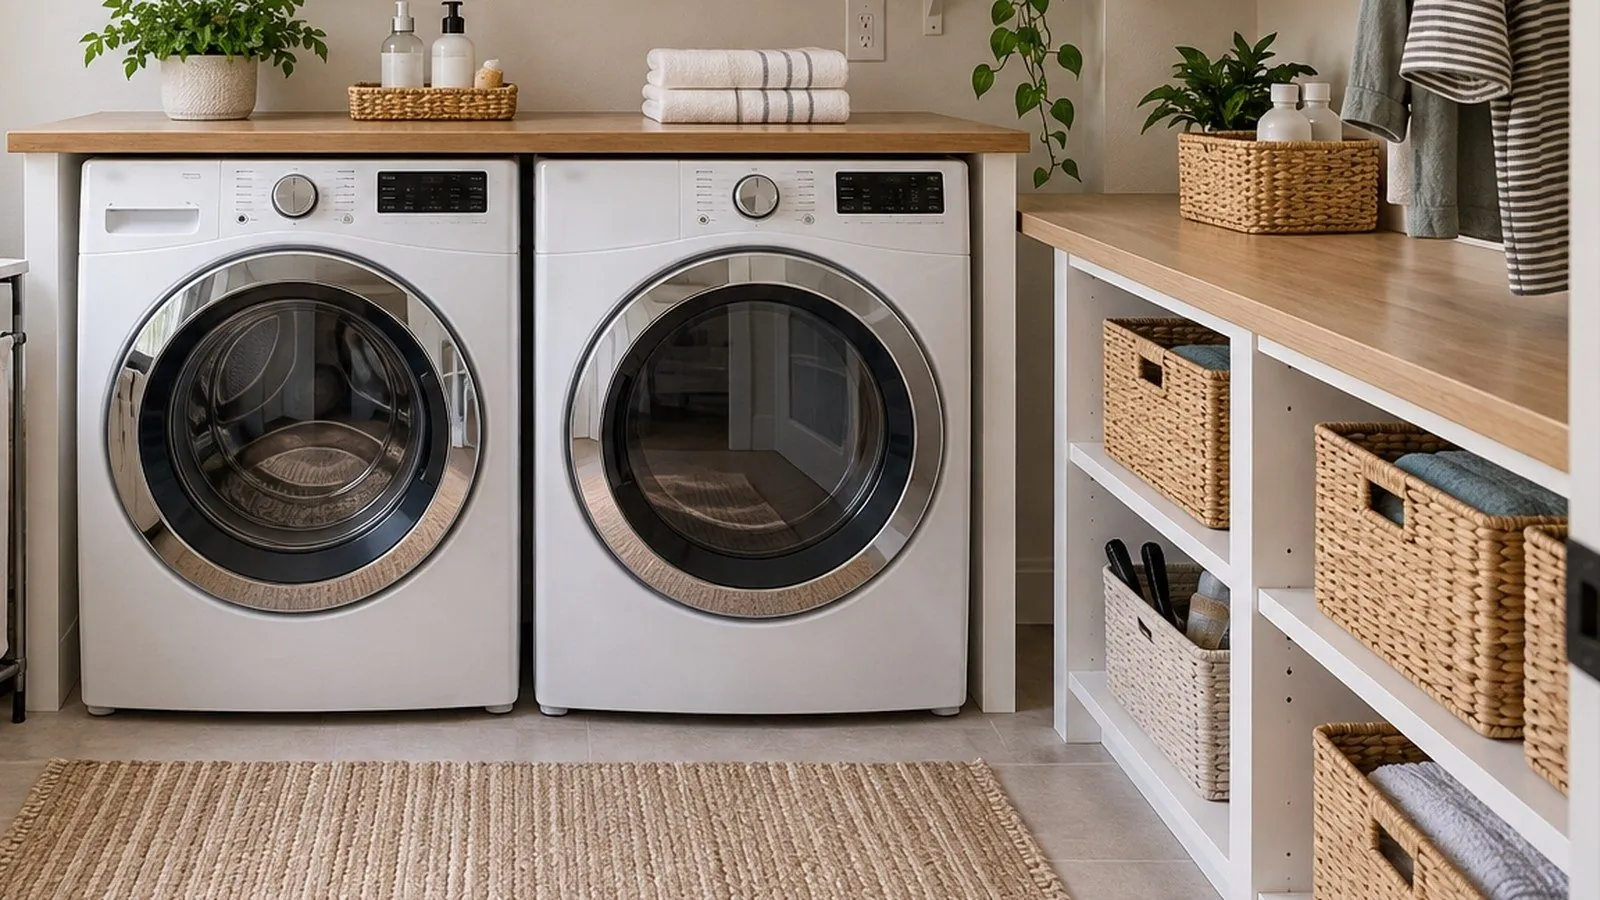
Laundry room organization works best when you plan around the machines and the laundry cycle before you plan around containers.
Start by measuring the space the washer and dryer need while they are actually being used. Keep doors, lids, hoses, valves, venting, and service access workable. Then map the path from dirty laundry to clean clothes and add shelves, cabinets, carts, hampers, or a folding surface only when each one fixes a repeated problem.
That order prevents a common failure: a storage piece can fit the wall and still make the room harder to use.
Measure the operating space, not just the machines
Record the appliance bodies first, then measure what changes when the room is in use.
| Measure | What to record | Why it matters |
|---|---|---|
| Washer body | Width, depth, and height | Establishes the occupied footprint |
| Washer opening | Lid or front-door movement plus control access | Prevents storage from blocking loading or controls |
| Dryer opening | Door movement and basket approach | Protects the unload path |
| Room or closet door | Swing, fold, slide, or opening width | Shows where carts, hampers, and cabinets can interfere |
| Rear service area | Water hoses, valves, drain, plug, and dryer vent | Keeps connections inspectable and serviceable |
| Usable wall | Clear width and reachable height after obstructions | Defines the real storage zone |
| Basket path | Entry, set-down point, and turning space | Tests the room with a real load instead of an empty floor |
Do not copy a generic shelf-height or rear-clearance number from a room photo. Installation requirements vary by appliance and setup. Whirlpool’s washing-machine installation guidance, for example, directs owners to the appliance’s own instructions for model-specific requirements, and its dryer installation instructions account for factors such as door opening, servicing, and venting.
Treat your appliance manuals as the final reference for model-specific clearances. The room plan should work around those requirements rather than trying to make the machines fit a storage plan.
Protect service and safety access before adding storage
Mark the things that still need to be reachable after the room is organized.
For the washer, identify the shutoff valves, inlet hoses, drain connection, and power connection. GE’s washer shutoff-valve guidance notes that the valves connect to the inlet hoses and may need to be reached when water must be shut off for service or a leak.
For the dryer, keep the exhaust path inspectable. The U.S. Fire Administration’s clothes-dryer fire-safety guidance recommends checking the venting system so it is not damaged, crushed, or restricted and keeping the area behind the dryer maintainable.
That does not mean every laundry room needs the same empty gap. It means shelves, cabinets, counters, and carts should not make routine inspection or model-required access impossible.
If children are present, storage placement also has a safety job. The U.S. Consumer Product Safety Commission advises keeping laundry packets in their original containers and out of a child’s sight and reach in its poison-prevention guidance.
A uniform row of decanted products may look organized while making the room less safe or removing useful label information. Original packaging and secure storage matter more than a matching-container look.
Map the laundry flow from dirty to clean
Now stop thinking about the room as a collection of cabinets and walk through one normal load.
Use this sequence:
- Dirty intake: where clothes enter the laundry area.
- Sort: where loads are separated, if you sort before washing.
- Treat: where stain treatment and garment checks happen.
- Wash: where detergent and routine wash supplies are used.
- Dry or air-dry: where wet items move next.
- Fold or hang: where clean items are finished.
- Exit: how clean laundry leaves the room.
Take a real basket through those steps.
Where do you set it while opening the washer? Where do wet items wait if they cannot go in the dryer? Do clean clothes land on top of supplies because the work surface is already occupied? Does a hamper sit in front of a door because it has no parking place?
Those repeated collisions are the problems storage should solve.
Give the easiest zones to the most frequent tasks
Once the flow is clear, assign space by retrieval cost rather than by decoration.
| Zone | Good use | Main test |
|---|---|---|
| Hand and eye level | Detergent and routine wash supplies | Can you reach the item without moving something unrelated? |
| Above the machines | Light supplies or hanging space, when compatible | Can the appliance still open and remain serviceable? |
| Closed storage | Visually noisy or hazardous supplies | Is access still practical for the task and safe for the household? |
| Low or mobile zone | Hampers, sorters, or movable storage | Can it move without blocking doors or appliances? |
| Back stock | Unopened refills used less often | Does it avoid crowding the daily zone? |
| Outside the room | Unrelated household overflow | Would keeping it here steal space from a laundry task? |
The goal is not to fill every wall. It is to reduce the number of things you have to move before doing the next step.
A detergent bottle used every load should not live behind three decorative bins. A rarely used refill does not need prime hand-level space. A broom does not automatically belong in the laundry room just because there is an empty corner.
Choose storage by the failure it fixes
After measuring and mapping the workflow, choose the smallest storage change that solves a recurring problem.
If you have not decided whether that problem needs a shelf, cabinet, cart, hamper, or wall organizer, compare laundry-room storage types by access, footprint, mobility, and retrieval cost before you buy.
Open shelves
Open shelves make sense when frequently used supplies need quick visibility and the wall remains clear of appliance-opening and service zones. If shelves are the next decision, plan laundry-room shelving around the machine opening, reach, and stored-item depth before you mount them.
Their tradeoff is exposure and reach. Deep shelves can hide short items, and high shelves can turn ordinary supplies into awkward retrievals. A shelf is useful only if the stored item can be removed without colliding with the machine or another container.
Closed cabinets
Cabinets can hide visual clutter and can place some supplies behind a door. If permanent closed storage is the next decision, compare wall, base, tall, and over-appliance laundry-room cabinet forms before you commit the wall or floor zone.
The tradeoff is commitment and clearance. Cabinet doors need room to open, and the cabinet body consumes wall depth permanently. Do not install a cabinet simply because the wall looks empty.
Narrow carts
A slim rolling cart can use a side gap without permanently occupying the wall.
If the machines, room door, basket path, and service access consume most of the room, use the Small Laundry Room Organization constraint-first layout to map the remaining usable zone before adding a cart or another floor-level organizer.
Measure the cart loaded, not just empty. It still needs a pull-out path, and a narrow gap may also be needed for appliance access, hoses, cleaning, or service.
Hampers and sorters
A hamper solves the dirty-intake problem only if it has a parking place that does not block the room.
If the sorter must move every time you open the dryer or enter the closet, it has created another task. A smaller or more mobile solution may be more useful than a larger multi-bin unit.
Hooks, rails, and hanging rods
Wall-mounted hanging space can keep air-dry garments and empty hangers off the counter.
Place it where wet clothes will not block doors, controls, or the route between machines. Follow the hardware maker’s installation and load guidance rather than guessing at capacity.
Folding surfaces
A counter or fold-down surface helps when clean laundry otherwise takes over the washer, dryer, floor, or another room.
It should not come at the cost of machine operation or service access. For a top-loader, test the washer with the lid fully open before fixing anything above it. GE’s top-load washer guidance gives a useful manufacturer example of why an overhead shelf or cabinet can interact with lid movement in a tight space.
Remove storage that belongs to another job
Laundry rooms often become overflow storage because they happen to have cabinets or shelves.
Before giving an item permanent space, ask:
- Is it used in the laundry process?
- Is it needed here at least weekly?
- Is this the safest or easiest place to maintain it?
- Does it take space from folding, machine access, routine supplies, or a basket path?
- Would it be easier to retrieve at its real point of use?
If the answer points elsewhere, move it.
An organized laundry room does not need to store the theoretical maximum number of household items. It needs to make laundry easier to start, move, finish, and reset.
Run a seven-day loaded test
Do not judge the room immediately after cleaning it.
Use it for a week with ordinary loads. Include a busy laundry day if possible.
Watch for these failures:
- Dirty clothes land on the floor because the hamper is inconvenient.
- A basket blocks a door or appliance while loading.
- Stain treatment happens somewhere else because the supplies are too far away.
- The folding surface becomes permanent storage.
- Wet items have nowhere realistic to air-dry.
- Clean clothes remain in the room because there is no obvious exit step.
- A cart or bin must move before you can reach another item.
- A shelf works when empty but becomes awkward when its containers are full.
Fix the failure before buying a matching set of organizers.
Sometimes the right change is smaller: remove one bin, move a hamper, keep fewer refills in the room, or reserve part of a counter as a no-storage work surface.
Keep the reset shorter than the laundry cycle
A maintenance system should be simple enough to survive a rushed week.
After the final load:
- Move clean laundry out of the room.
- Return detergent and treatment supplies to their task zones.
- Clear lint and ordinary trash.
- Return hampers and carts to their parking spots.
- Check that nothing has migrated into a door, appliance, or service path.
- Review back stock before buying more.
For dryer safety, follow your dryer’s instructions and current fire-safety guidance. The U.S. Fire Administration recommends cleaning the lint filter before and after each cycle and checking that the venting system is not damaged, crushed, or restricted.
The finished room should still work when it is carrying a basket, a machine door or lid is open, and a normal week of supplies is present. If the layout works only when everything is empty and staged, it is not finished yet.