
How to Organize a Car Trunk Without Filling Every Inch
A practical trunk-organization system that keeps emergency supplies accessible, normal cargo space open, and loose items secured for the drive.
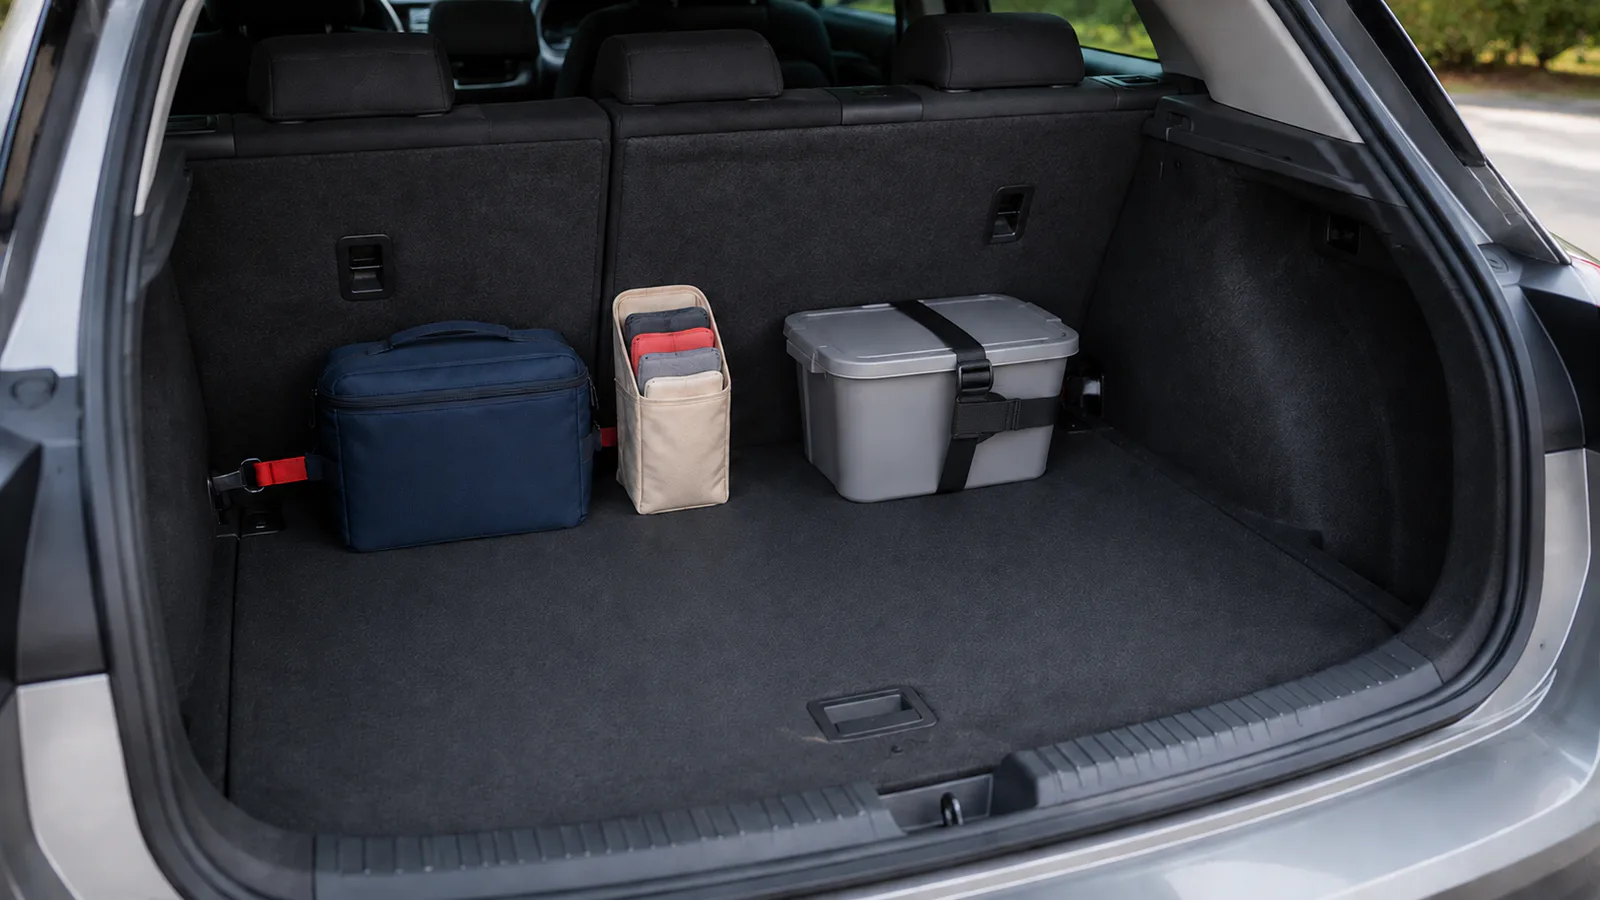
To organize a car trunk, remove everything, return only what has a defined job, and divide the remaining space into permanent, everyday, and trip-specific zones. Keep the spare tire or repair equipment accessible, secure anything that could shift, and preserve open floor space for the cargo the trunk is meant to carry.
The goal is not a trunk full of matching containers. It is a system that works on an ordinary grocery run and can be cleared quickly when you need luggage, a stroller, or larger cargo.
Step 1: empty the trunk completely
Remove loose objects, bins, reusable bags, seasonal gear, and everything stored below the floor. Starting with an empty trunk makes duplicates and forgotten items easier to see.
Sort everything into four groups:
- Vehicle equipment: spare-tire or repair system, jack, charging cable, and manufacturer-provided tools
- Roadside supplies: warning devices, flashlight, gloves, first aid, and other emergency items
- Routine cargo: reusable bags or equipment used often
- Temporary cargo: work, sport, pet, child, travel, or seasonal items needed only for a particular trip
Anything that does not fit one of these groups should normally leave the car.
Step 2: protect access to vehicle equipment
Open the trunk floor and locate the spare tire, sealant-and-compressor kit, tow point, battery access, or other equipment described in the owner’s manual. Make sure your storage system can be moved without unloading many small objects.
Do not place a heavy permanent container over an access panel unless you can remove it safely. If you have never inspected the factory tools, do that before buying another organizer.
Step 3: create three usable zones
Permanent roadside zone
Keep the car emergency kit near an edge or anchor point where normal cargo will not bury it. The first items you may need—warning device, flashlight, reflective vest if used, and work gloves—should be near the top.
Everyday zone
Use one narrow pouch, side pocket, or secured container for reusable bags and other items that genuinely stay in the car. This zone should not spread across the trunk floor.
Flexible cargo zone
Leave the main floor open. Trip-specific modules can enter and leave as a unit: one sports bag, pet kit, work tote, or road-trip container. A removable module is easier to manage than many permanent organizers.
Step 4: secure the load
Organization is also a safety issue. NHTSA advises drivers to secure cargo with appropriate straps, netting, or vehicle attachment points and to double-check that a load cannot shift, fall, leak, or escape.
Inside a passenger vehicle:
- Put heavy items low rather than on a parcel shelf or seat back.
- Use factory hooks, tie-down points, a cargo net, or a stable closed container where appropriate.
- Keep liquids upright and contained.
- Do not stack objects high enough to obstruct rear visibility.
- Recheck the load after adding groceries, luggage, or a large item.
An organizer does not automatically secure its contents. It also needs to remain stable during braking and turns.
Step 5: choose the smallest container that solves the problem
Identify the repeated failure before selecting storage:
| Problem | Minimal response |
|---|---|
| Grocery bags tip or slide | Secured collapsible crate or divided bin |
| Reusable bags scatter | One narrow pouch or side compartment |
| Emergency tools are buried | Clearly marked, secured roadside bag near the edge |
| Small bottles may leak | Small washable lidded container |
| Trip gear mixes with permanent supplies | One removable trip module |
| The trunk must switch uses often | Collapsible container that folds flat |
Measure the container’s outside width, depth, and height. Confirm that the hatch closes, the rear seats can move, and the trunk floor still opens.
Our car organizer guide compares organizer types and explains when each becomes unnecessary bulk.
Step 6: load for the trip you are taking
Permanent storage should be small. Add other items only when the trip requires them:
- Groceries: keep cold food together and use a cooler when temperature control is required.
- Road trips: add water, food, clothing, medicine, and climate supplies as a removable module.
- Pets: contain leads, bowls, towels, and cleanup supplies in one washable bag.
- Children: use one removable activity or care bag rather than loose toys throughout the cargo area.
- Work or sport: unload equipment after the trip unless it serves a recurring vehicle purpose.
Before transporting heavy or unusual cargo, check the vehicle’s payload limits and loading instructions in the owner’s manual.
A two-minute trunk reset
After unloading:
- Remove trash and trip-specific items.
- Return reusable bags to their pouch.
- Check for spills or damaged packaging.
- Confirm the emergency kit is accessible.
- Fold unused containers and secure what remains.
Once each season, inspect emergency supplies and remove gear that no longer matches the weather. This pairs with our broader small-car organization system without duplicating cabin storage advice.
The final test
Your trunk is organized if you can:
- Reach vehicle tools and the roadside kit without a long unload
- Add normal groceries or luggage without reorganizing the entire car
- Remove temporary gear in one trip
- Confirm that nothing can slide, leak, block visibility, or escape
If the answer is no, remove a container before adding another one.